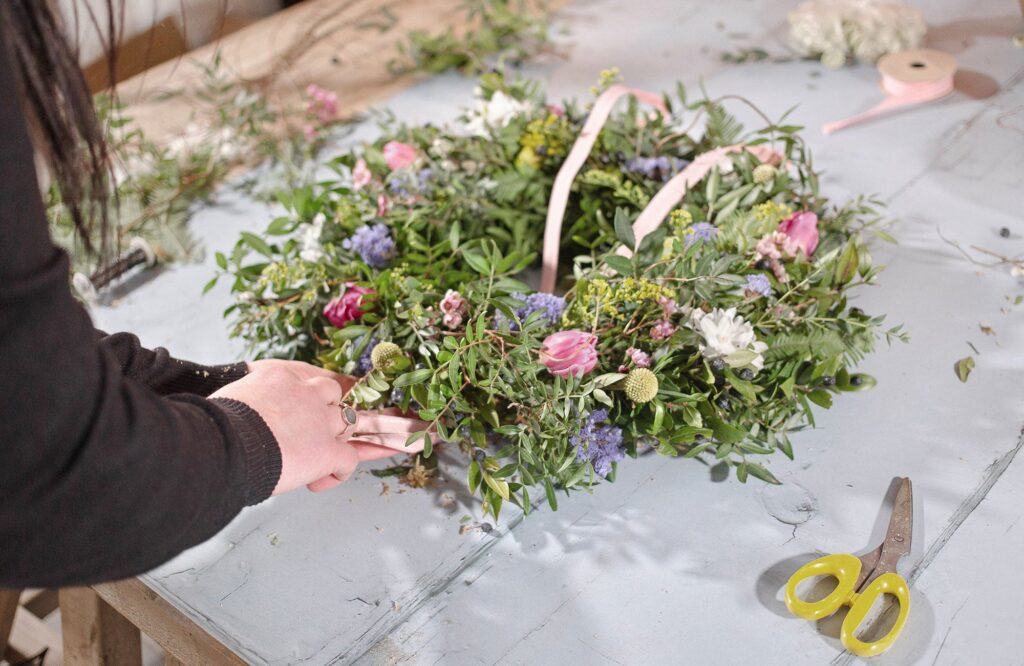
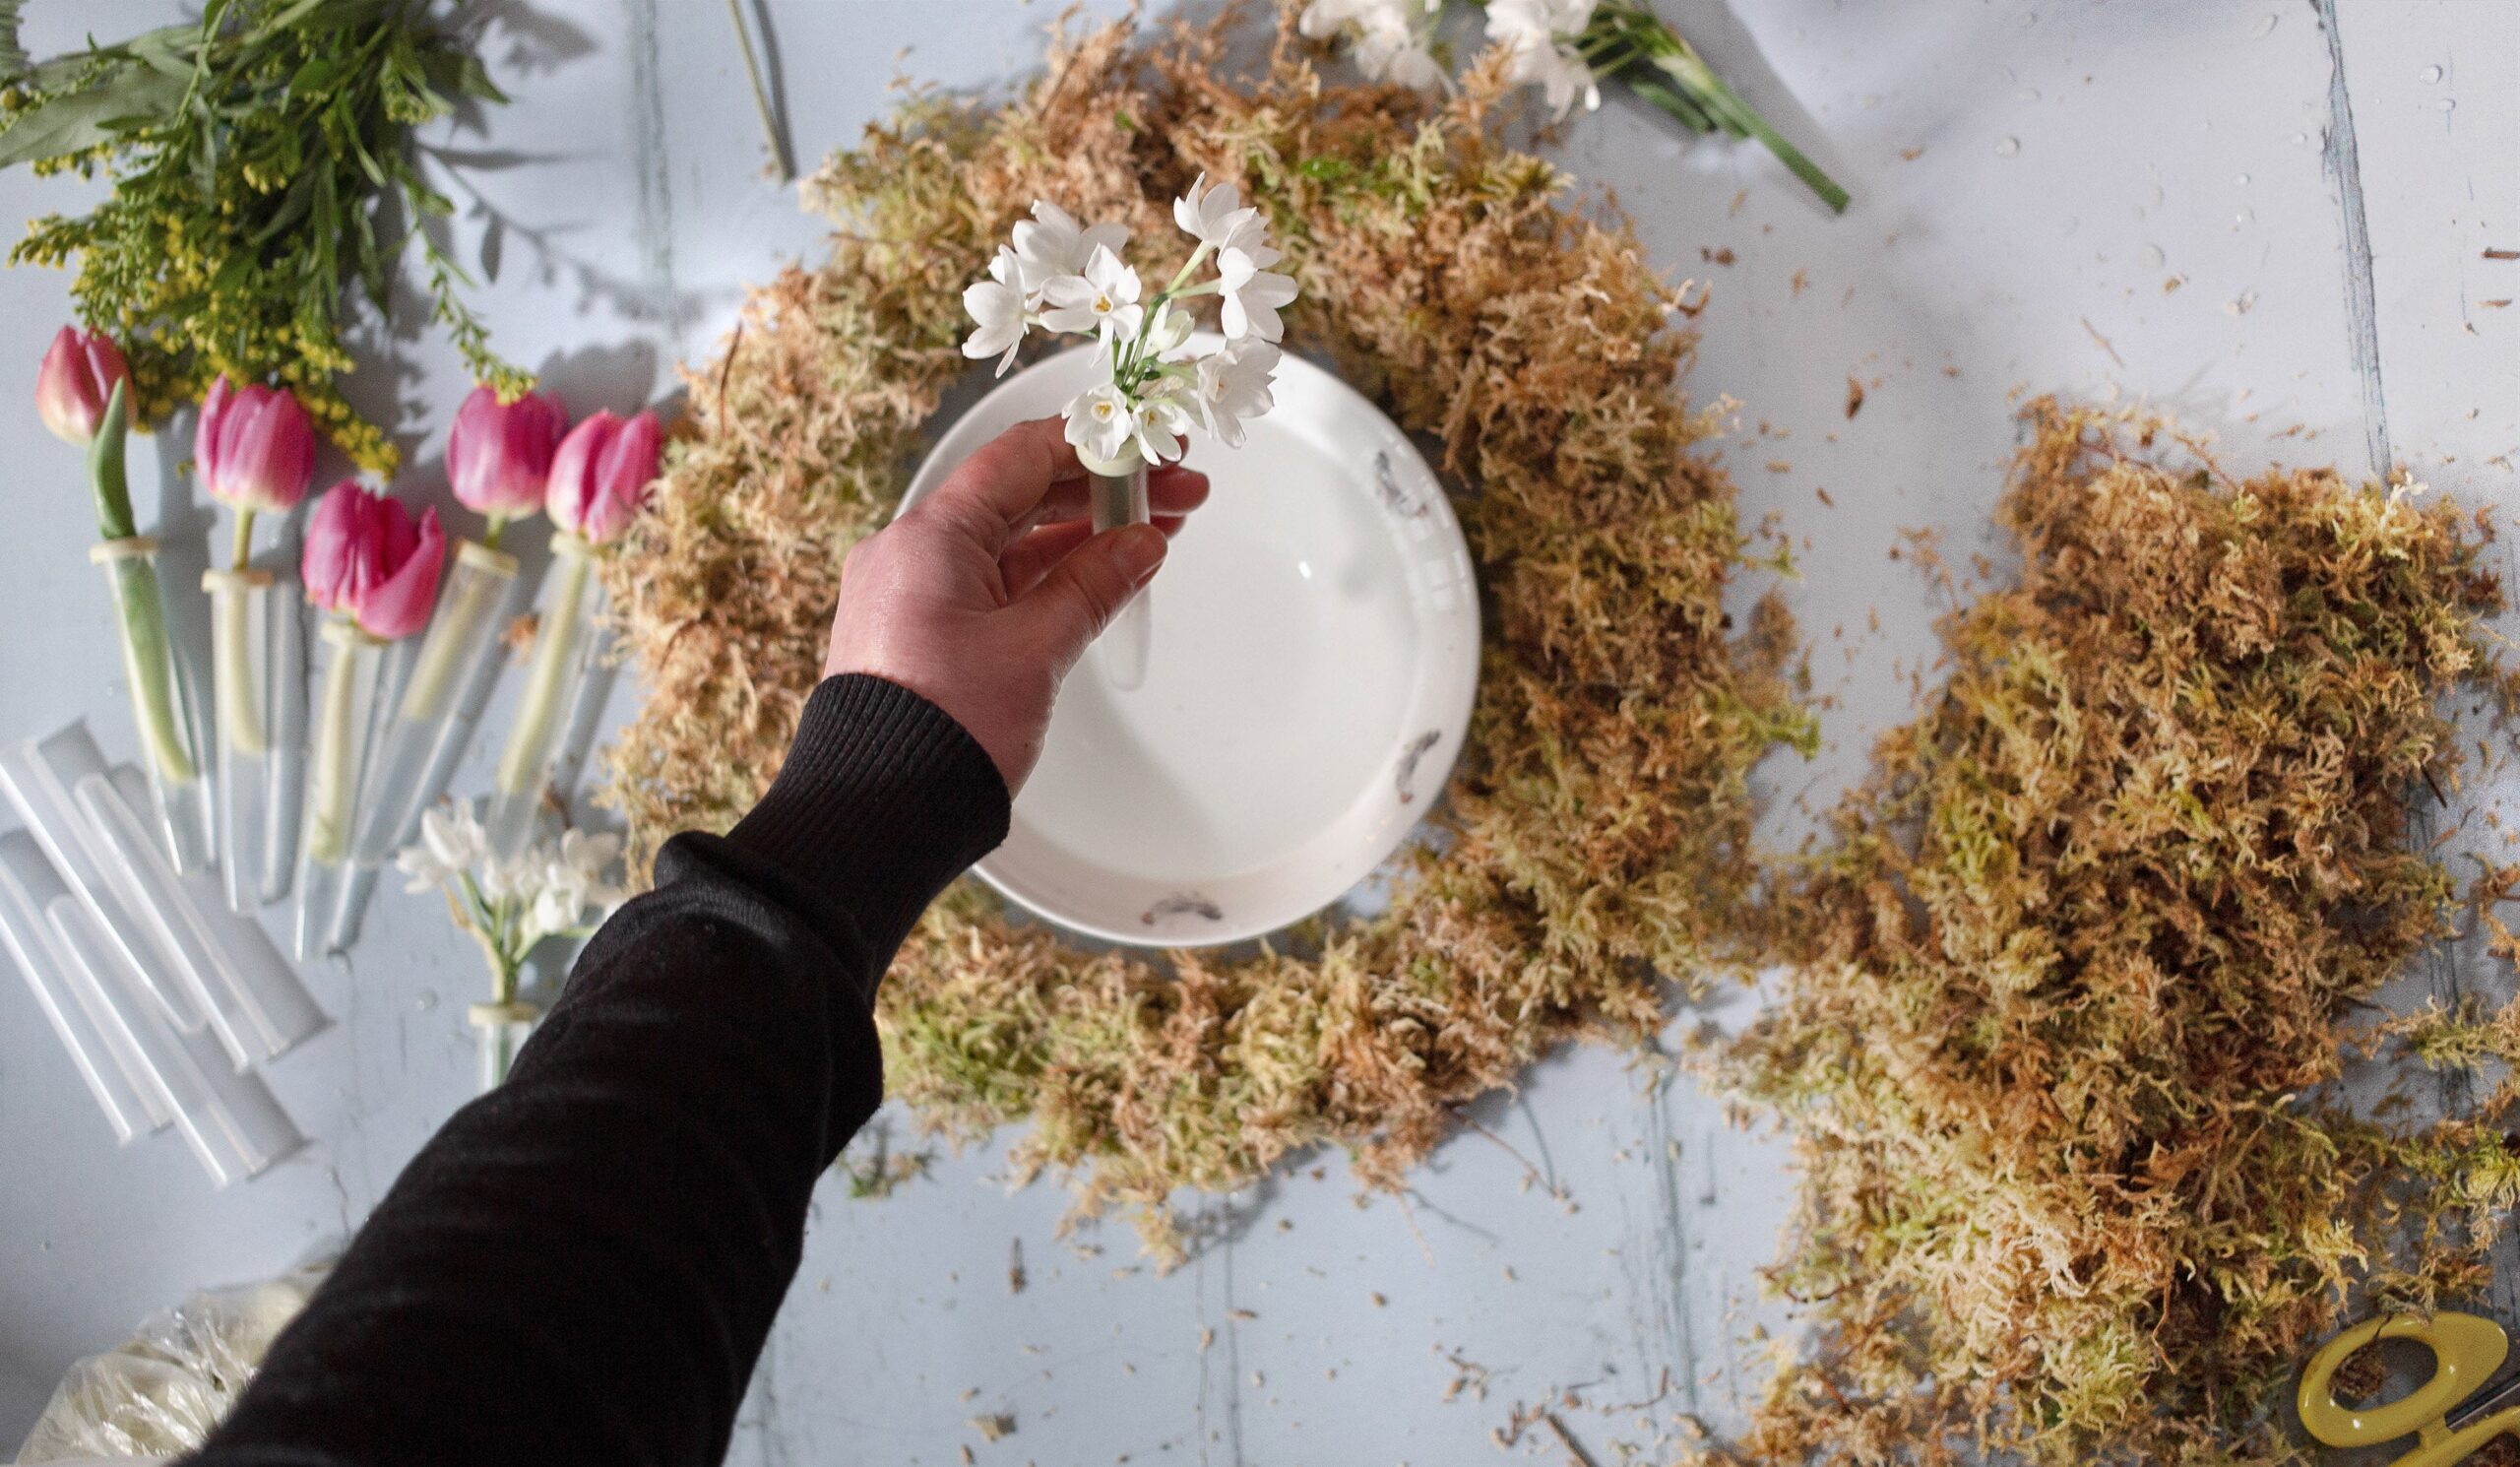
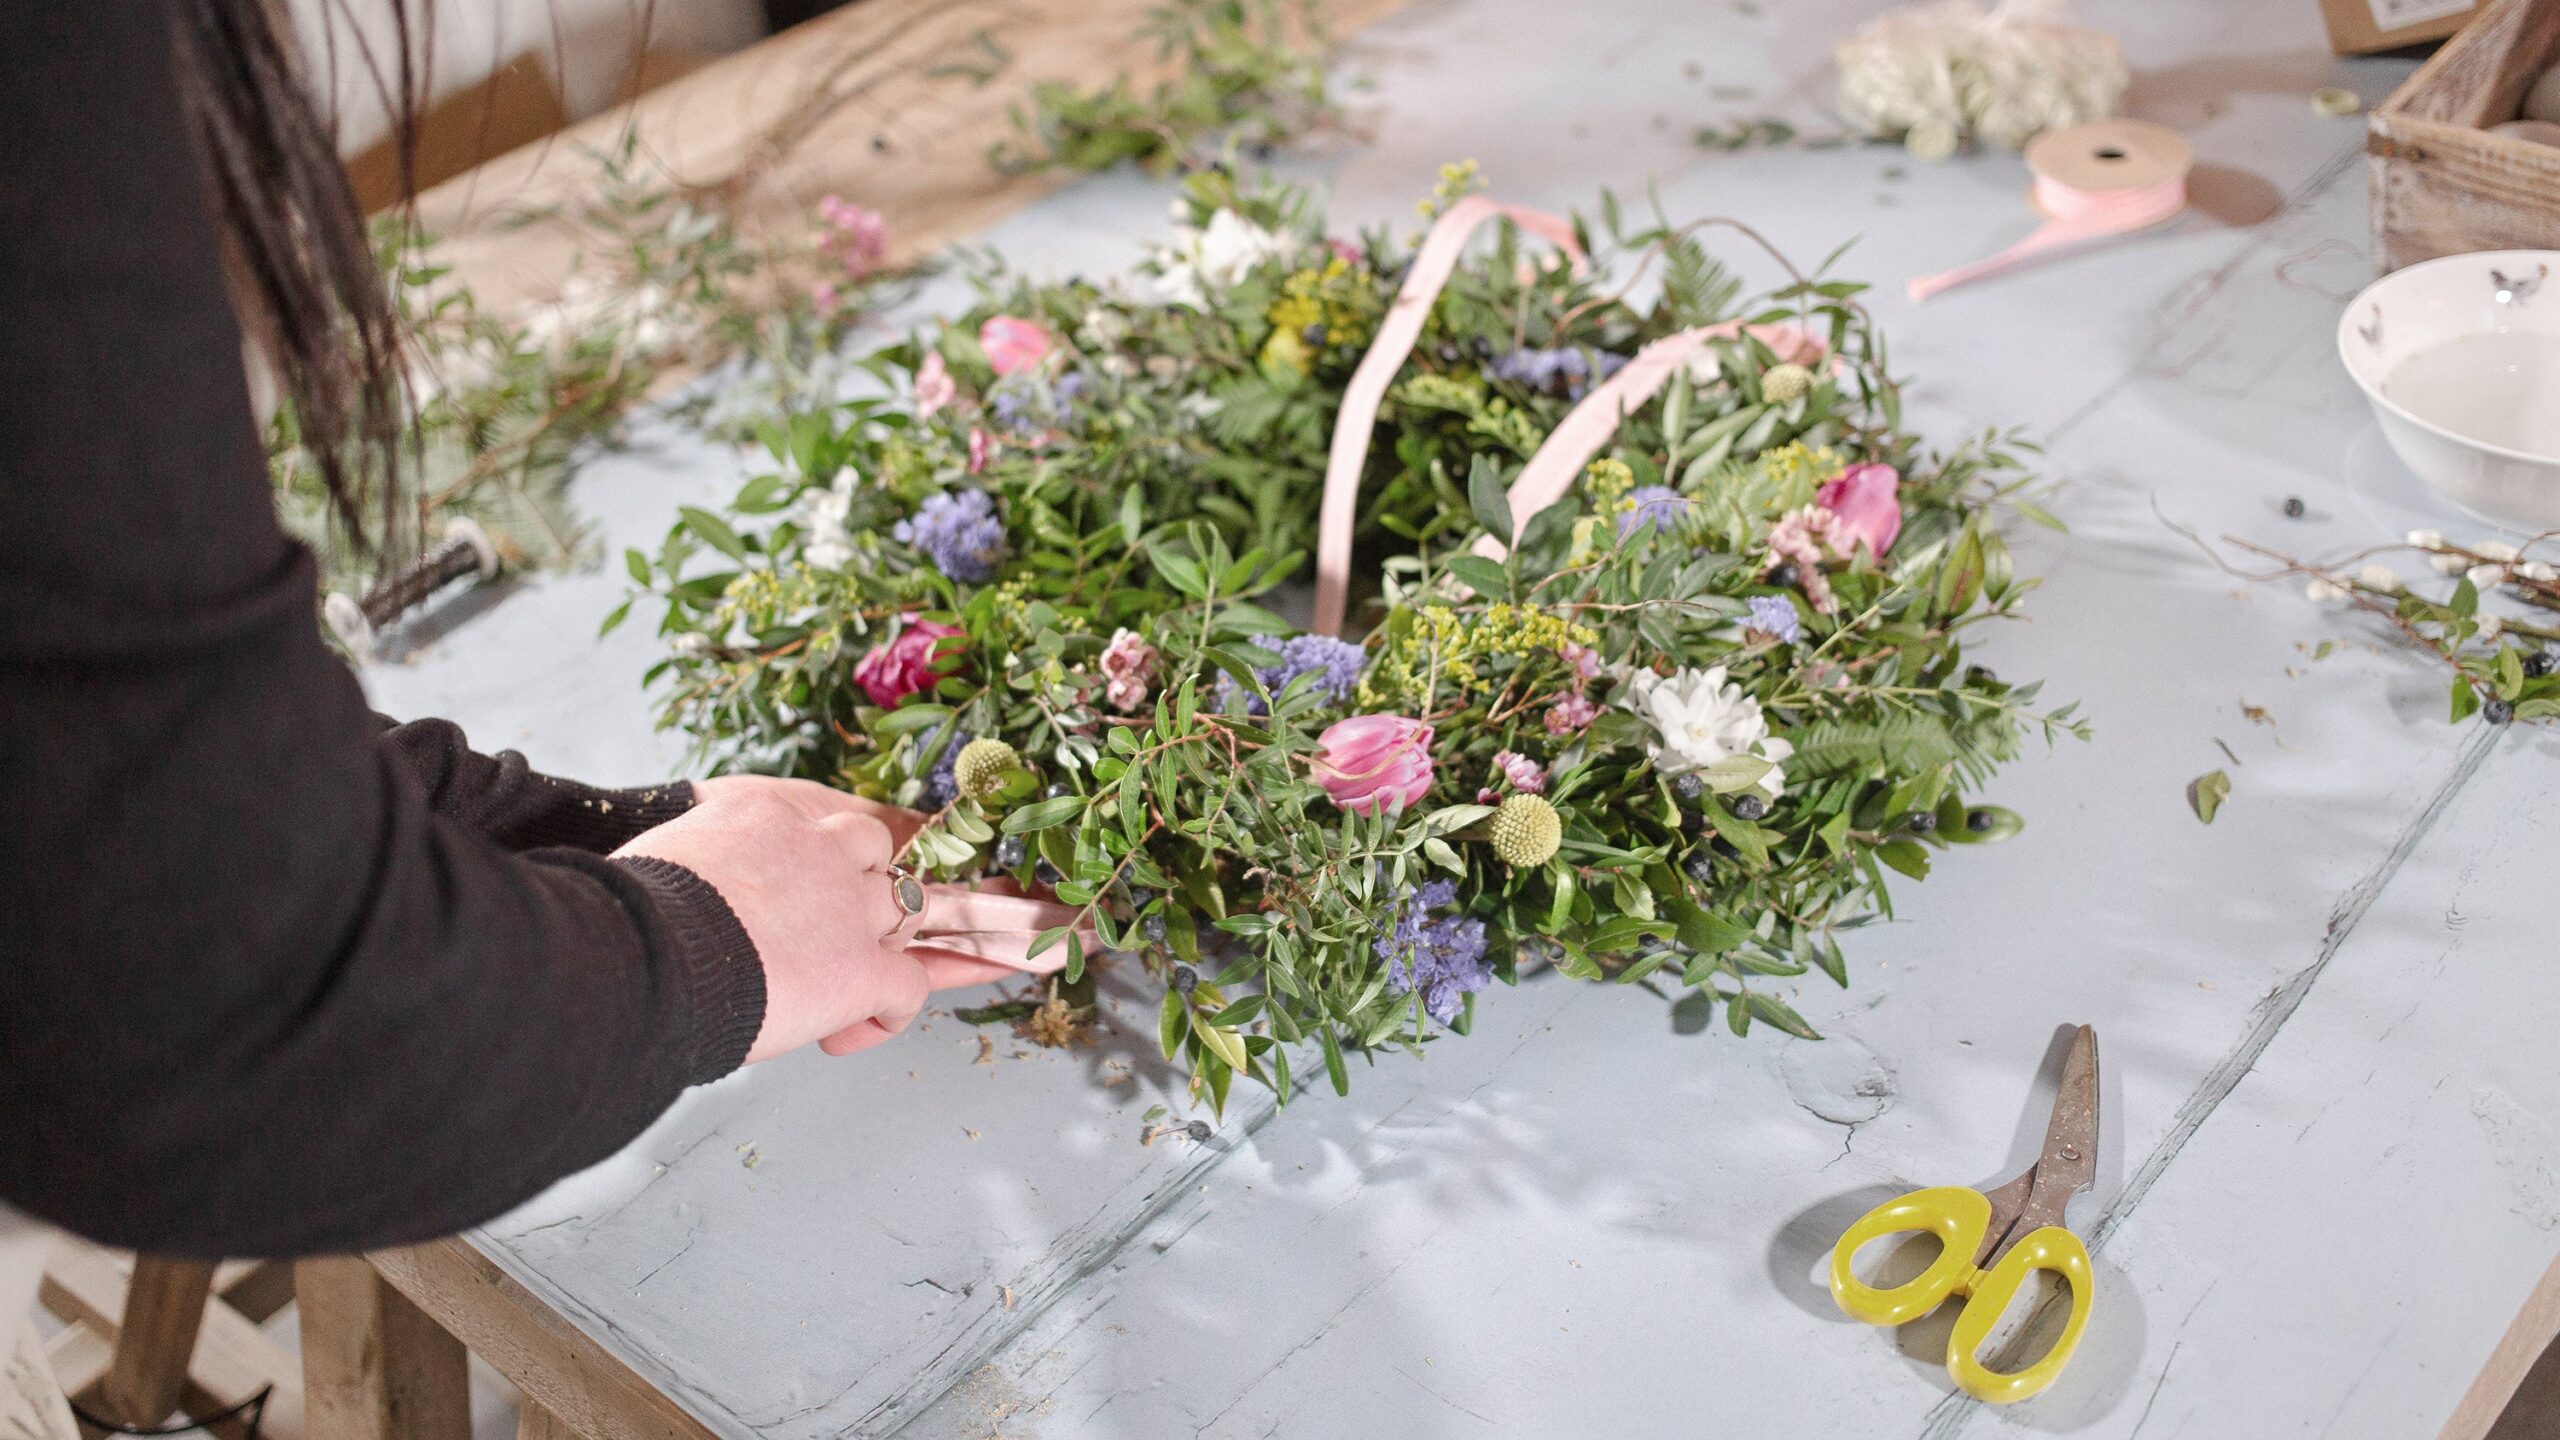
Seasonal wreaths are becoming popular all year round as we decorate our home in the light of the season, and spring sees budding flowers, an abundance of colour as well as vibrant greenery. Wreaths create beautiful door displays as well as giving you that ‘welcome home’ feeling. We’ve teamed up with the lovely Donna Willingham from The Country Garden Florist to create this step by step guide for making a spring wreath of your own at home.
STEP 1. GATHER YOUR SUPPLIES
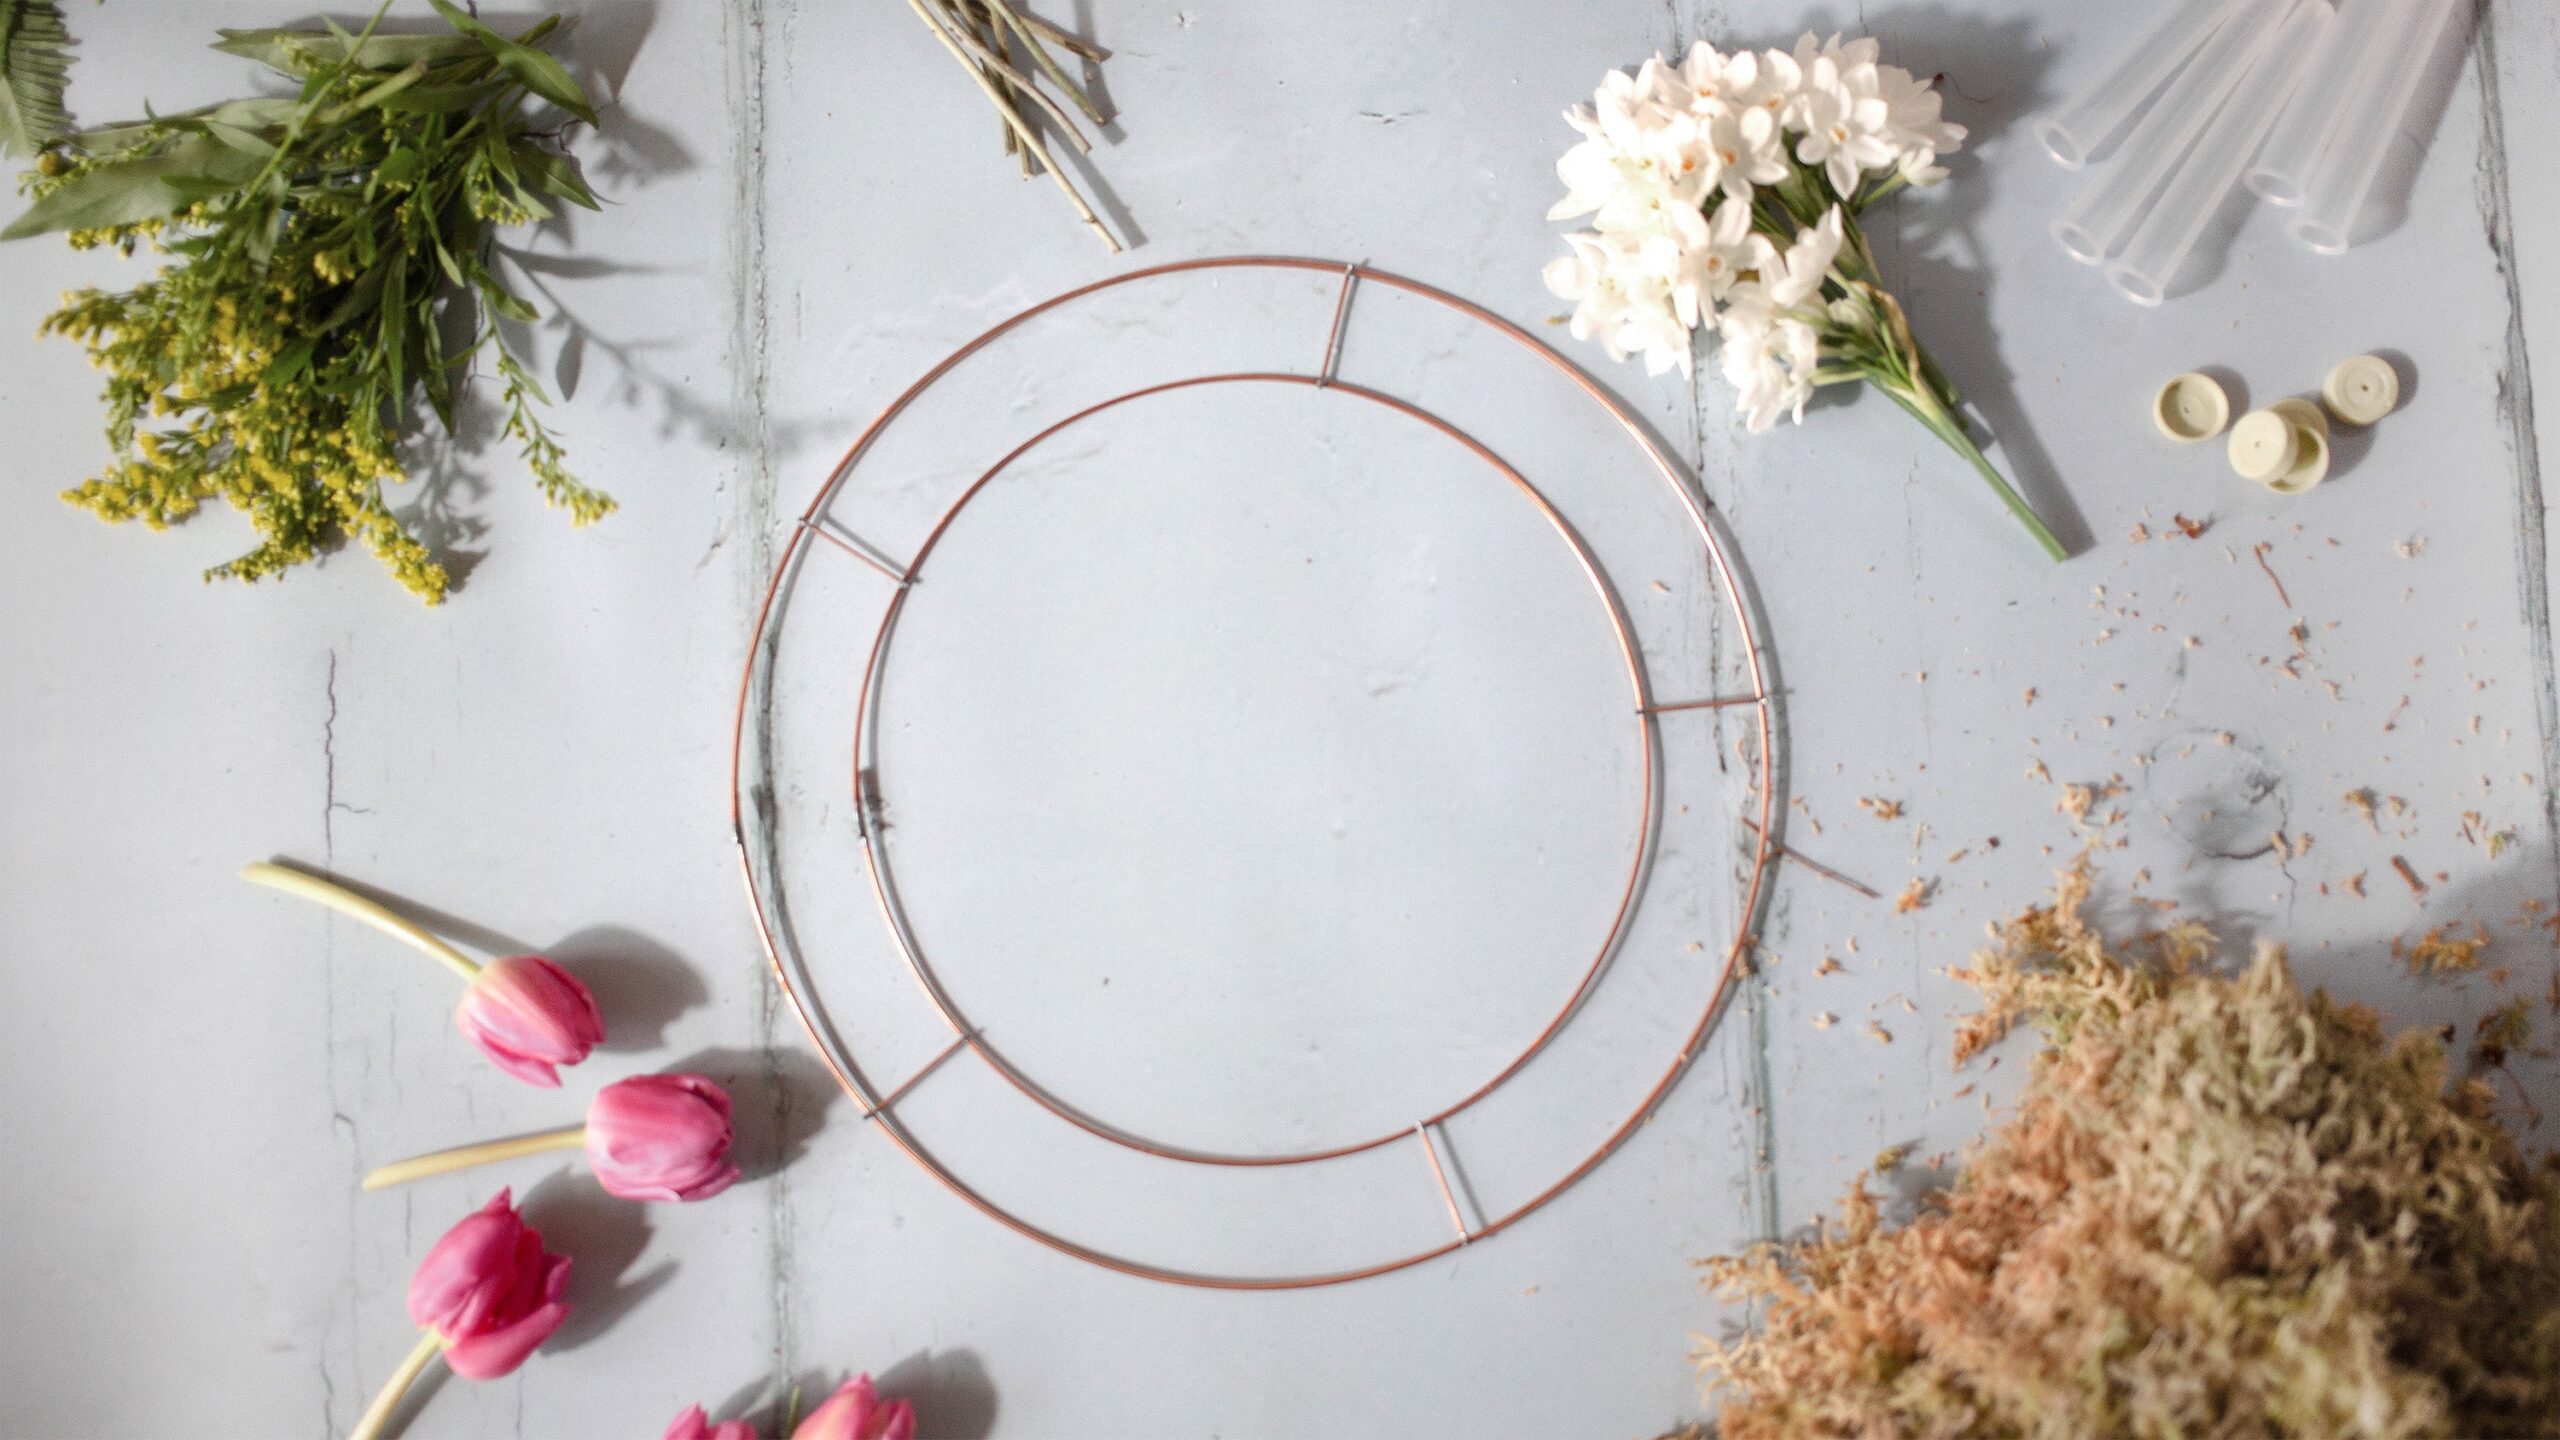
You may have some supplies at home already, you can even head out to the garden and cut flowers of your own, or you may want to purchase a kit that has everything you need to create a DIY wreath. What you need:
Wreath frame
Wire reel
Selection of foliage and twigs: we’ve used fern, pistache, myrtle, saliam and twisted willow twigs
Flowers: we’ve used tulips, narcissi, wax flower, solidago, statice
Moss
Water tubes
Bowl of water
Ribbon
Extra decorations – we’ve used eggs for an Easter feel
STEP 2. ATTACH YOUR WIRE REEL TO YOUR FRAME
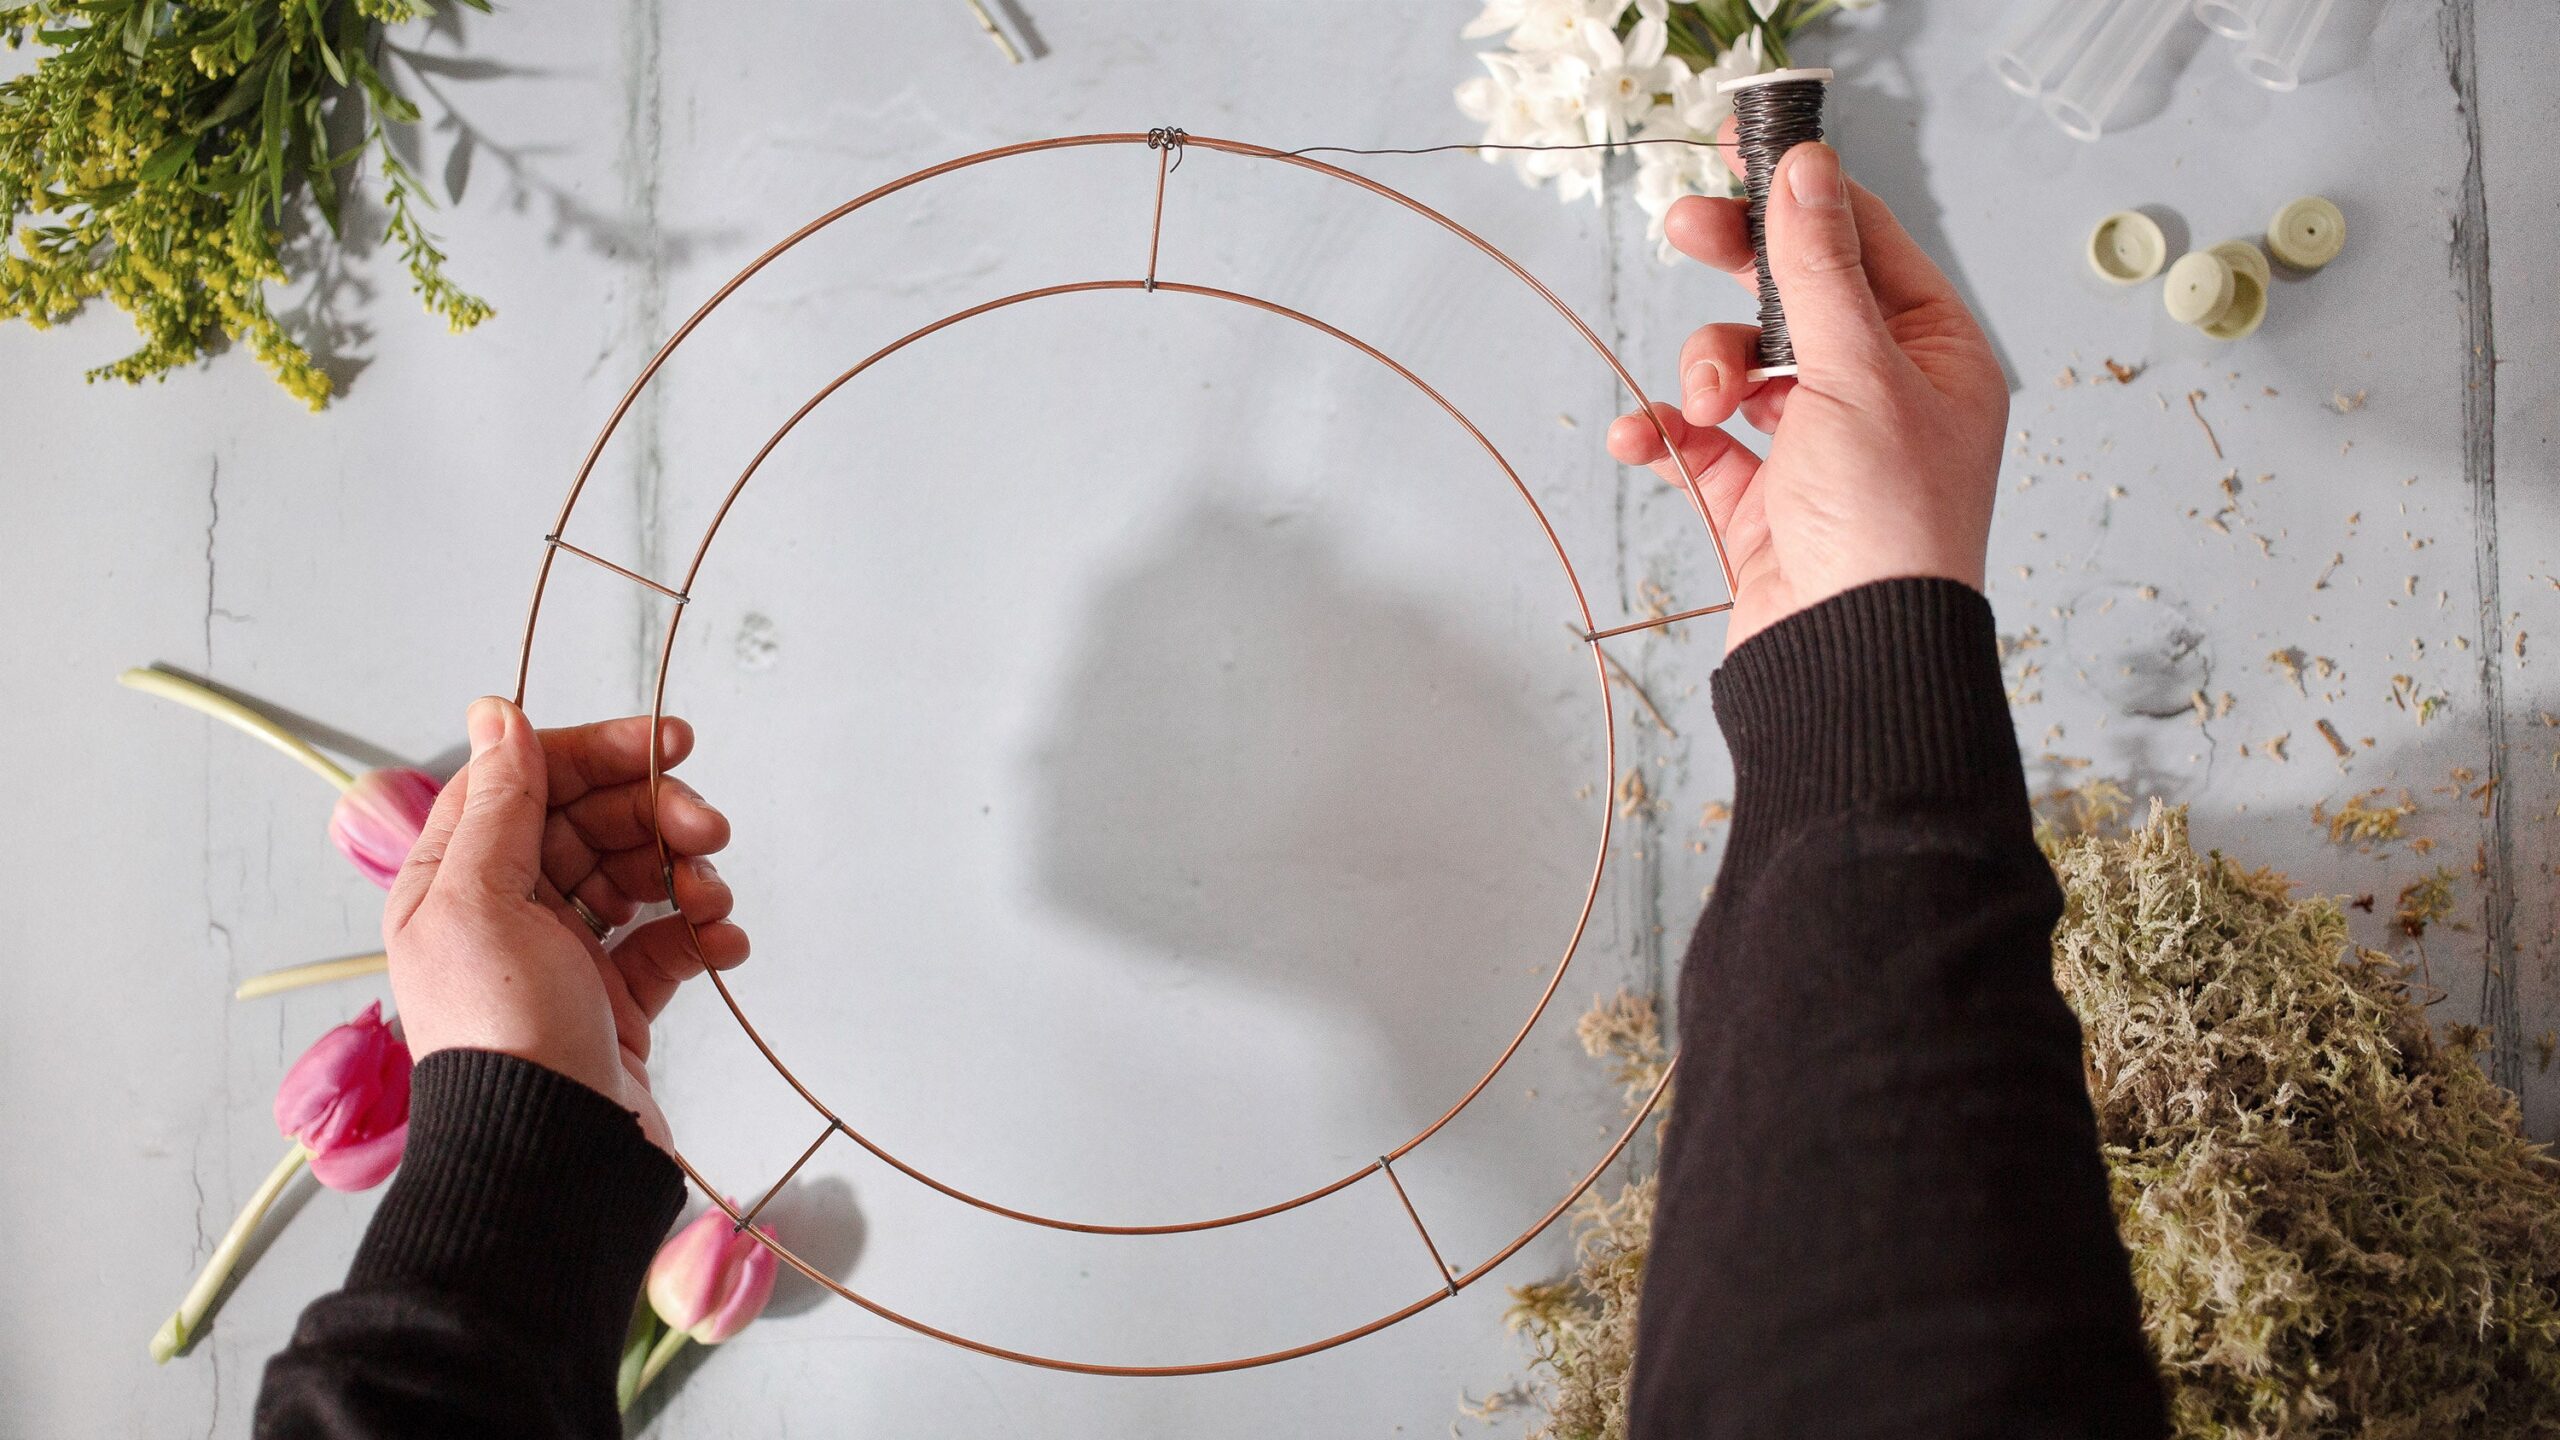
You want to begin by adding moss to the frame to create the structure of the wreath. To keep the moss in place, use the wire reel to wrap around the moss. First, you want to attach the reel wire to one of the posts on your frame, wrap it around the top until it’s secure, as you can see below.
STEP 3. ADD MOSS TO YOUR FRAME
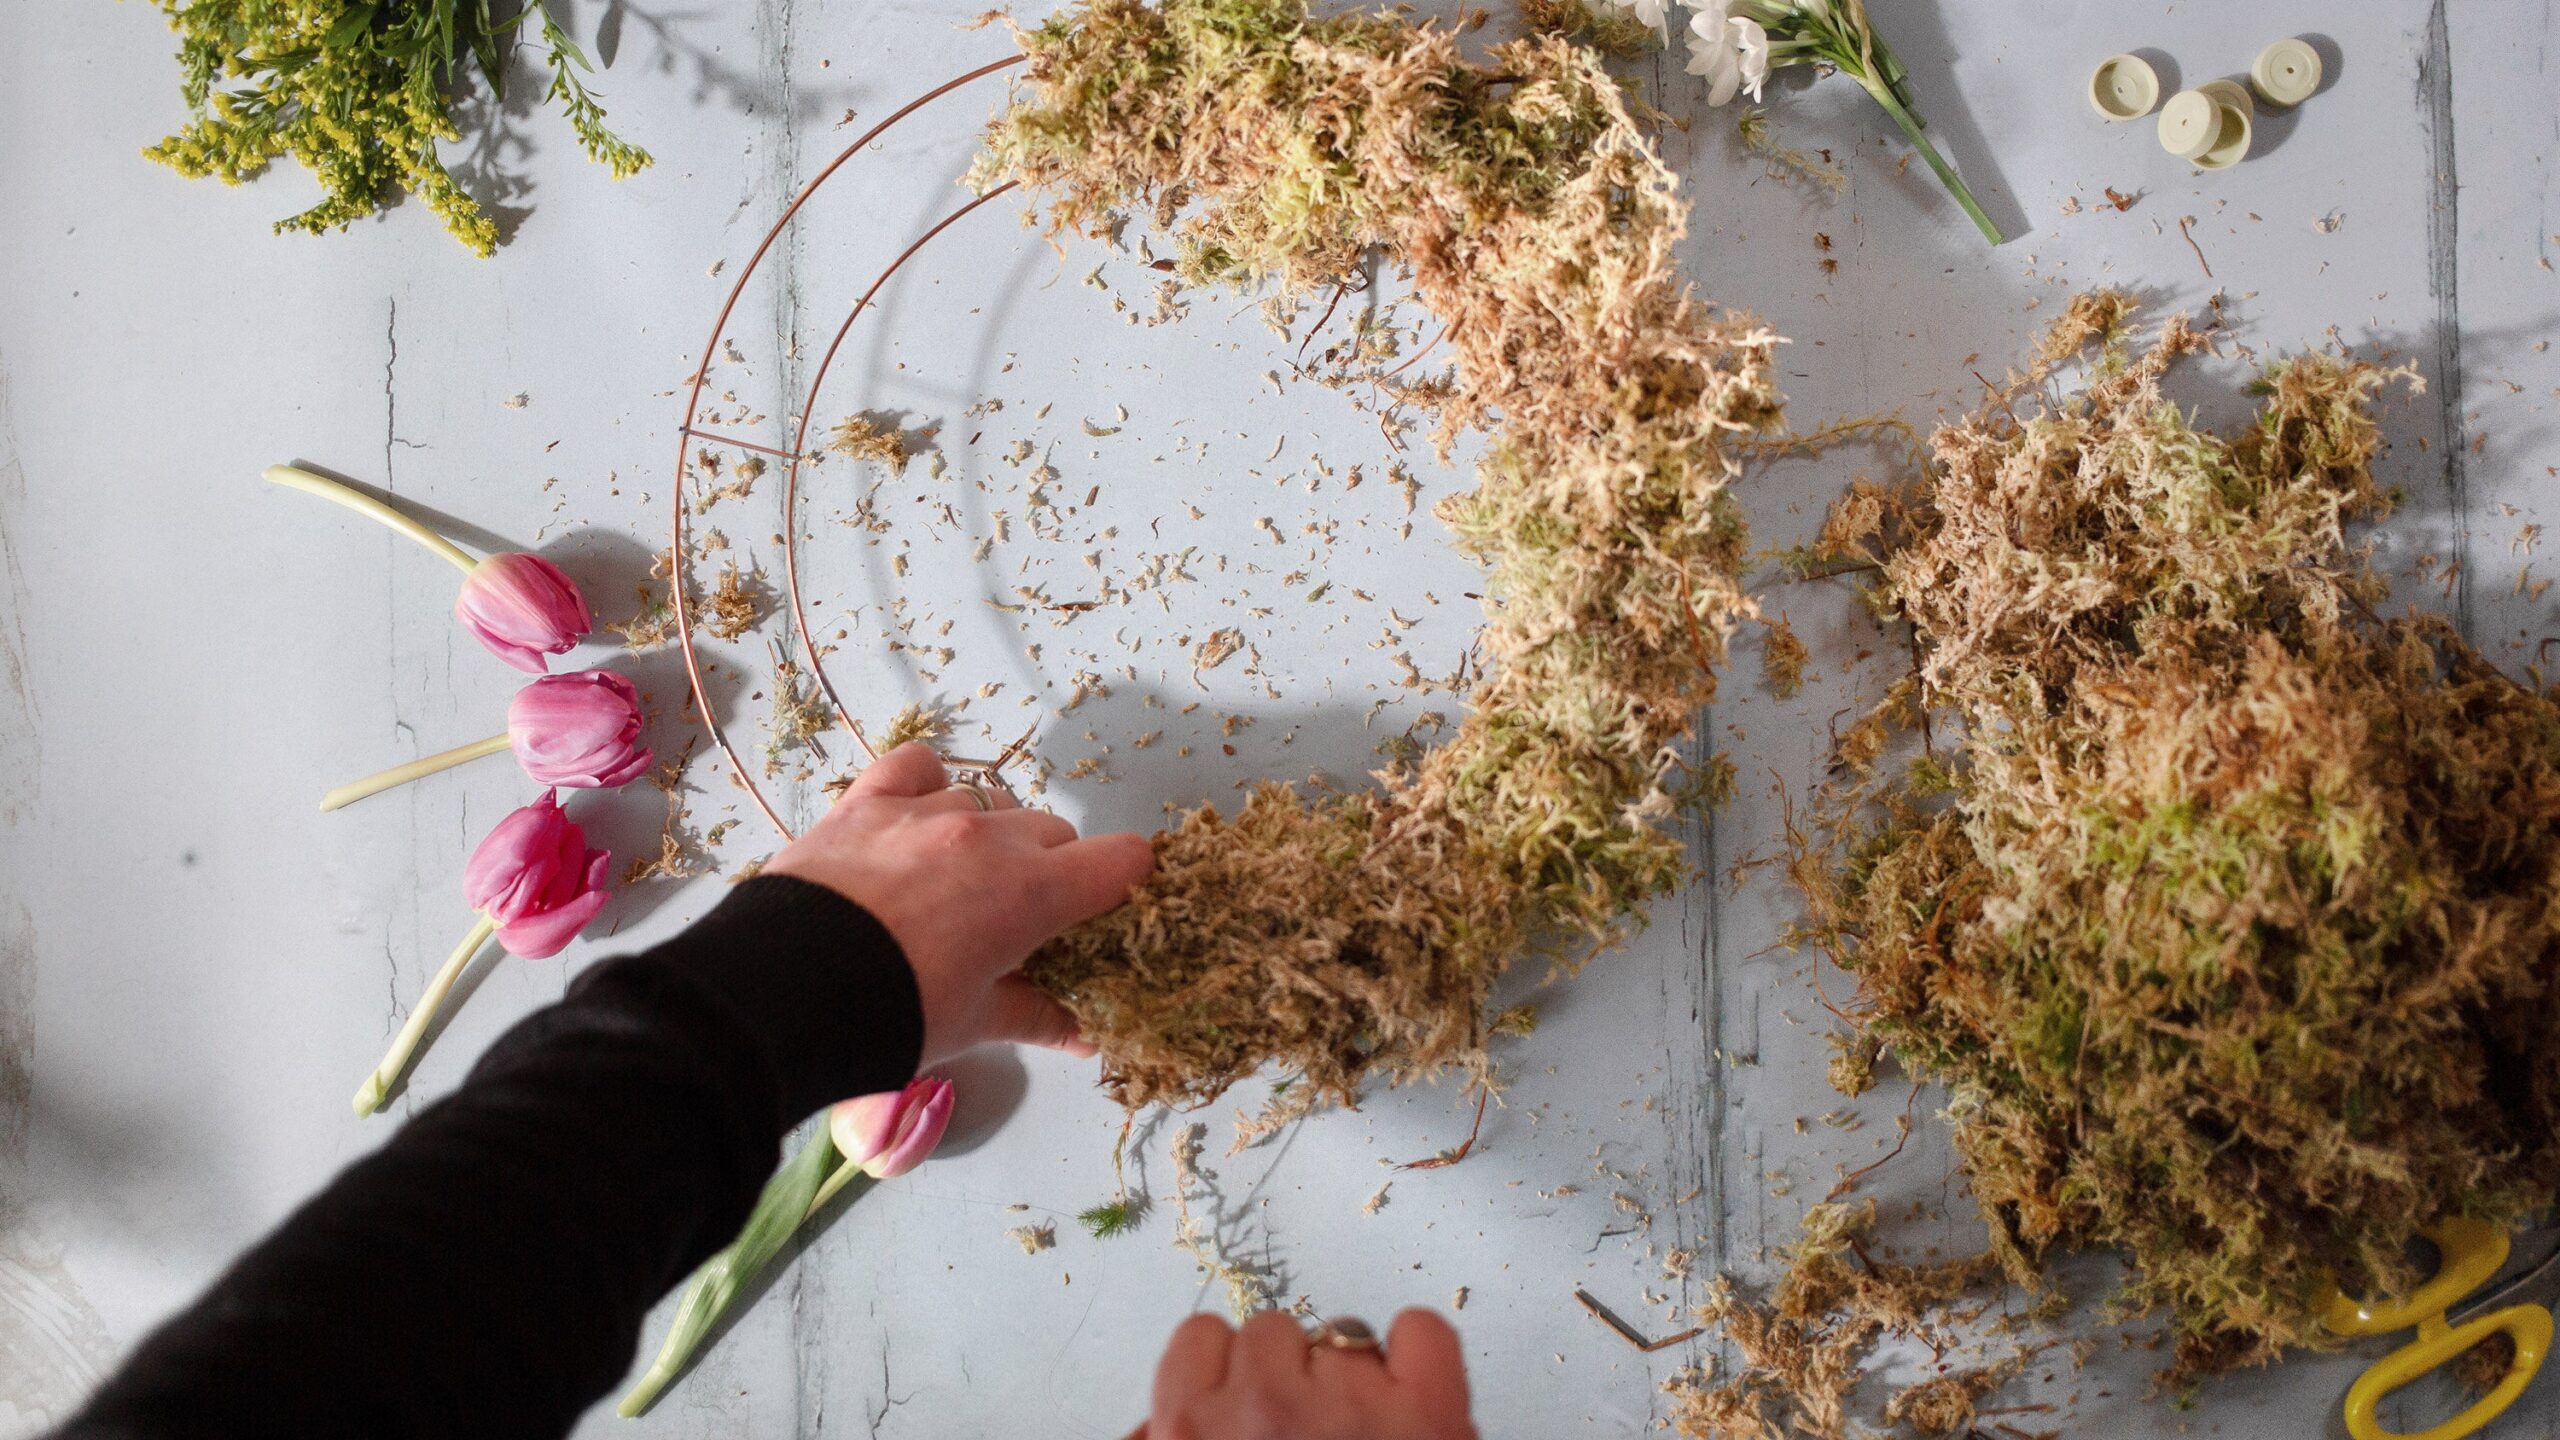
Once your wire reel is attached, you can then begin to add your moss. Take handfuls of moss at a time and lay it over the frame. You don’t want these to be too thick or thin, as you’ll need to be able to wrap the wire around the moss as you go to keep it in place. Do this all the way around until the entire frame is complete and covered in moss. Don’t cut your wire off just yet, as we will use this to attach spring flowers and foliage too.
STEP 4. WIRE YOUR BULBS ONTO YOUR SPRING WREATH
Now wire your bulbs at regular intervals into your spring wreath. Try and get the bulbs into the moss. This will keep the roots moist and allow the bulb to flower.
STEP 5. START ADDING FOLIAGE, TWIGS AND DRIED FLOWERS
Now your base is ready, you can begin to add your foliage and dried flowers to your wreath. Take a small bunch of foliage and if you wish, some flowers and layer it onto the wreath, then wrap your wire reel tightly around the base of the bunch a few times to hold it in place and secure it to the frame.
Continuing doing this all the way around at regular intervals, overlaping each bunch slightly to ensure there are no gaps.
STEP 6. TUCK IN YOUR FINAL BUNCH OF FOLIAGE AND FLOWERS
With your last bunch, you should layer it under the first one to avoid any gaps in the wreath. This will create a seamless circle.
STEP 7. CUT YOUR WIRE AND TIE ON YOUR RIBBON
You can now cut your wire and poke it into the wreath. You can now take your pre-cut ribbon and tie it around the wreath for hanging.
STEP 9. HANG YOUR WREATH ON YOUR FRONT DOOR
Now that your wreath is complete, you can proudly hang it on your front door for a hoppy home!
We use cookies on our website to give you the most relevant experience by remembering your preferences and repeat visits. By clicking “Accept All”, you consent to the use of ALL the cookies. However, you may visit "Cookie Settings" to provide a controlled consent.
This website uses cookies to improve your experience while you navigate through the website. Out of these, the cookies that are categorized as necessary are stored on your browser as they are essential for the working of basic functionalities of the website. We also use third-party cookies that help us analyze and understand how you use this website. These cookies will be stored in your browser only with your consent. You also have the option to opt-out of these cookies. But opting out of some of these cookies may affect your browsing experience.
Necessary cookies are absolutely essential for the website to function properly. These cookies ensure basic functionalities and security features of the website, anonymously.
Cookie
Duration
Description
cookielawinfo-checkbox-analytics
11 months
This cookie is set by GDPR Cookie Consent plugin. The cookie is used to store the user consent for the cookies in the category "Analytics".
cookielawinfo-checkbox-functional
11 months
The cookie is set by GDPR cookie consent to record the user consent for the cookies in the category "Functional".
cookielawinfo-checkbox-necessary
11 months
This cookie is set by GDPR Cookie Consent plugin. The cookies is used to store the user consent for the cookies in the category "Necessary".
cookielawinfo-checkbox-others
11 months
This cookie is set by GDPR Cookie Consent plugin. The cookie is used to store the user consent for the cookies in the category "Other.
cookielawinfo-checkbox-performance
11 months
This cookie is set by GDPR Cookie Consent plugin. The cookie is used to store the user consent for the cookies in the category "Performance".
viewed_cookie_policy
11 months
The cookie is set by the GDPR Cookie Consent plugin and is used to store whether or not user has consented to the use of cookies. It does not store any personal data.
Functional cookies help to perform certain functionalities like sharing the content of the website on social media platforms, collect feedbacks, and other third-party features.
Performance cookies are used to understand and analyze the key performance indexes of the website which helps in delivering a better user experience for the visitors.
Analytical cookies are used to understand how visitors interact with the website. These cookies help provide information on metrics the number of visitors, bounce rate, traffic source, etc.
Advertisement cookies are used to provide visitors with relevant ads and marketing campaigns. These cookies track visitors across websites and collect information to provide customized ads.